Enable the Brands and Products You Sell
Objective
This guide will show you how to enable the pet product brands you carry using your NextPaw dashboard. Enabling brands not only connects your store to official brand store locators, making you more discoverable by pet parents nearby, but also automatically creates branded landing pages on your website. These pages help improve your search engine visibility for brand-specific keywords like "buy [Brand Name] dog food near me," driving more local traffic to your business.
Each time you add a brand in the NextPaw Dashboard, an SEO-optimized page is automatically created on your website to help you rank for local brand searches and increase foot traffic and online engagement.
Key Steps
What You Need and Accessing Your Dashboard
- Export a .csv list of your product UPCs from your point-of-sale system. Please add your products to the Nextpaw Product Template. You can find that Here.
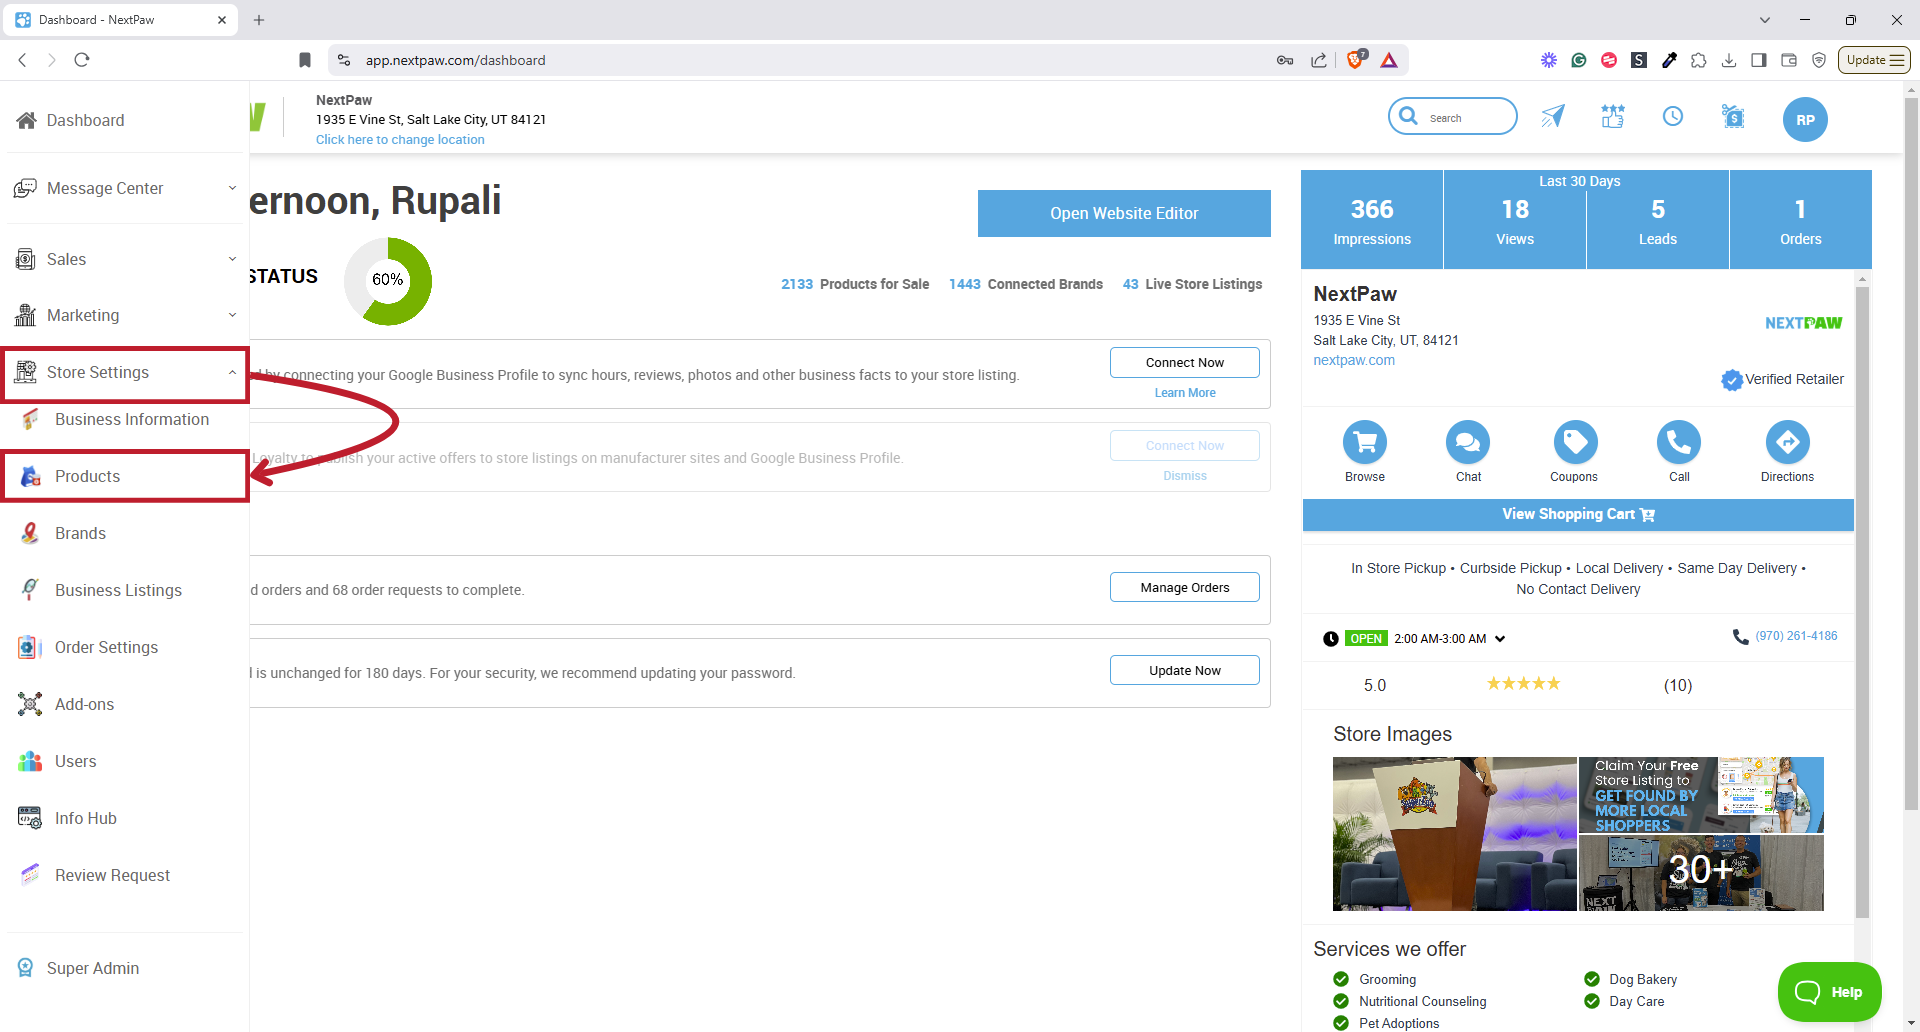
- Log in to your NextPaw dashboard using your credentials.
- Navigate to Store Settings, then the Products tab.

- There are two ways to enable brands on NextPaw: automatically through a UPC export or manually via toggles.
Method 1: Enable Brands Automatically
- Export a .csv file of your product UPCs from your point of sale. Please add your product's UPC, Title, Price, and Inventory to the Nextpaw Product Template.
- In your NextPaw dashboard, click Import on the Products page and upload the file.
- Please add your product's UPC, Title, Price, and Inventory to the Nextpaw Product Template at the top of the new window.
Note: UPC, Title, and Price are the only mandatory items for this upload.
- Download the new CSV file you have created from the Template.
- Upload the new CSV to Nextpaw.
- Please map the CSV file UPC to UPC, Product Name to Title, and Regular Price to Price. These three are mandatory; if you have the inventory added, please map Inventory to Inventory.

- Your brands and product catalog will be automatically enabled across the NextPaw store locator network.
This method ensures that your brands are activated efficiently and listed across multiple store locators immediately.


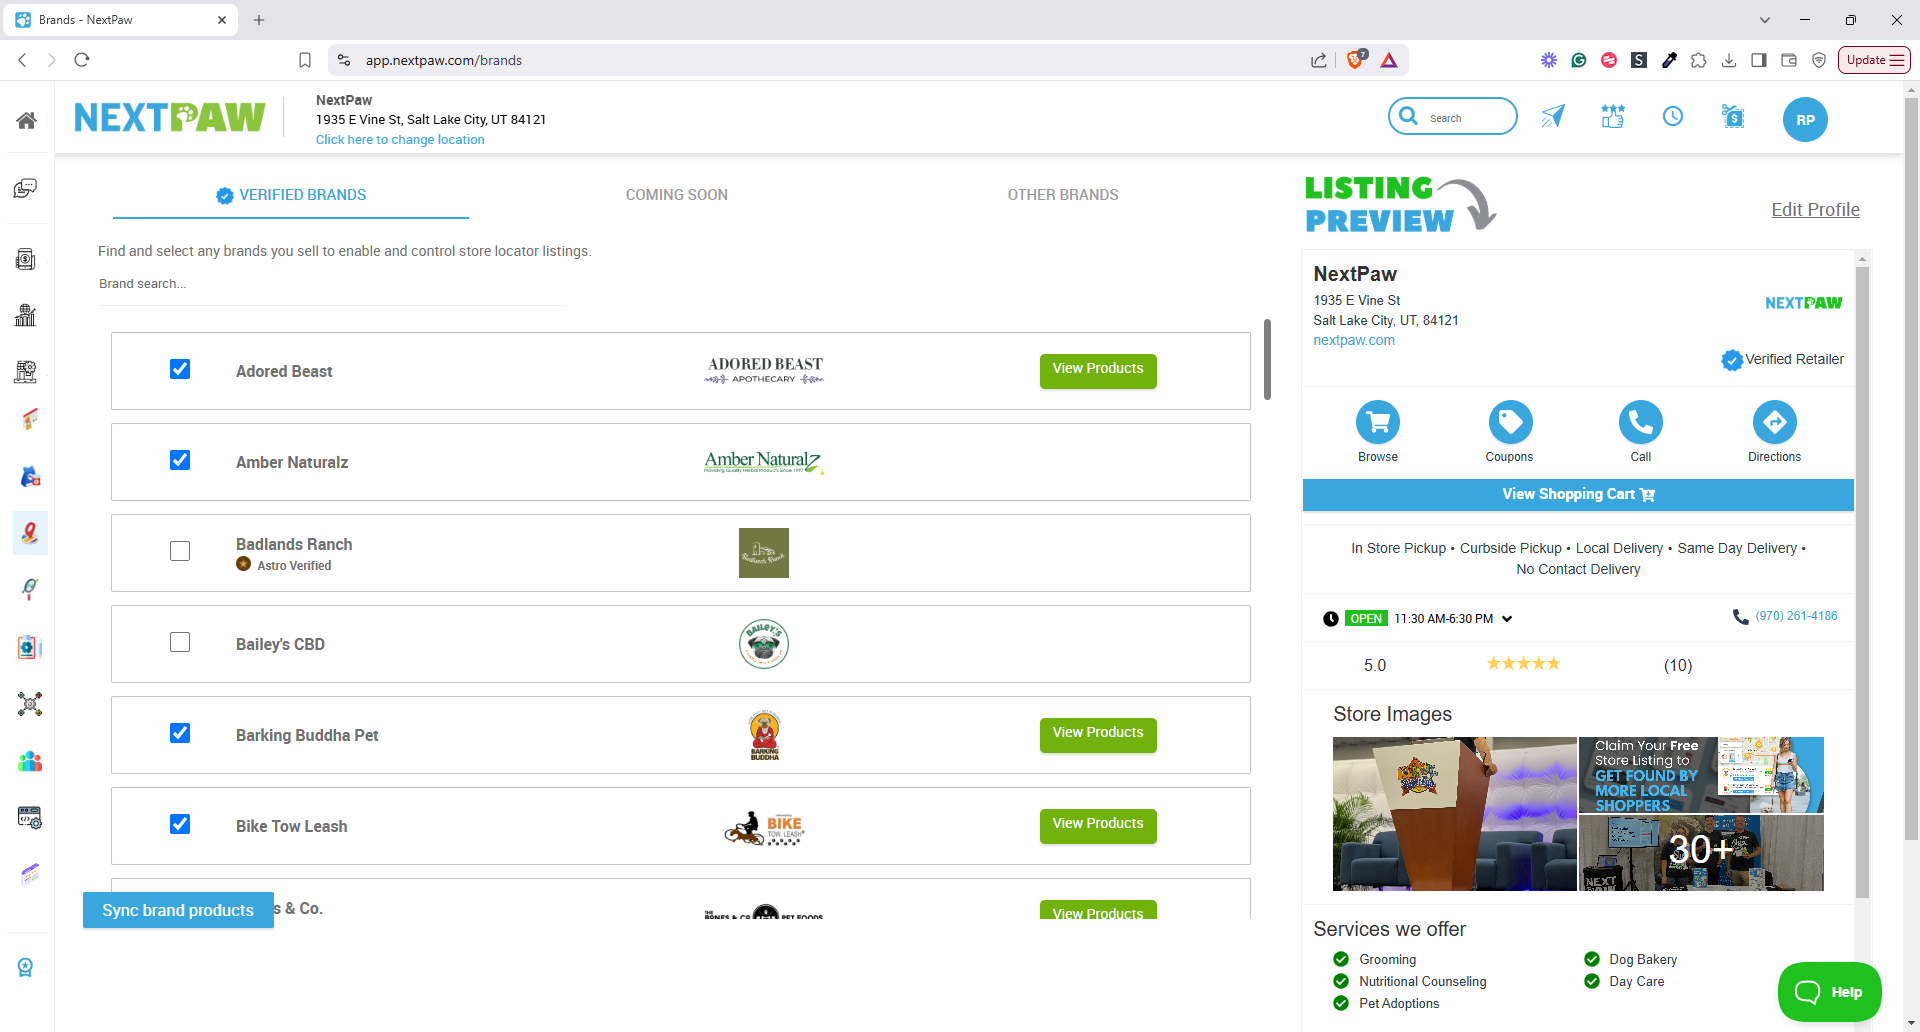
Method 2: Enable Brands Manually
- Click the Store Settings drop-down menu, then select Brands.

- Check the boxes next to the Verified brands you carry to activate your store locator listing on their respective websites.
- Click Coming Soon to enable brands that will be verified in the future.
- Click Other Brands to enable additional brands that you sell. If NextPaw later verifies these brands, your business will automatically appear on their store locator listings.


Finalizing Your Brand Listings
- Once you've enabled verified brands, your business's information will be synchronized with your optimized store locator profile.
- You can edit your business profile at any time to update your store locator information.
Additional Information
Why Enable Brands?
By enabling the brands you carry, you will:
- Appear on multiple store locators, helping local shoppers find your store.
- Receive a Verified Retailer badge that boosts credibility.
- Get priority placement in search results when shoppers search for pet products near them.
Cautionary Notes
- Timely Updates: Ensure your product catalog is regularly updated by syncing your UPC list frequently.
- Accurate Inputs: Double-check the brands and UPCs to avoid listing errors.
- Brand Verification: If a brand is missing from your list, ensure it's been properly verified in your dashboard settings.