Canva Integration
Objective
Learn how to design and add a custom blog image using Canva directly from your NextPaw dashboard. A visually appealing blog cover helps your post stand out, draws attention, and supports brand consistency across your site.
Why Use a Custom Blog Cover?
Blog covers are the first thing readers notice. A professionally designed image grabs attention, conveys your blog topic at a glance, and gives your site a polished look. With Canva integration built into the blog editor, creating a strong visual is easier than ever—no design experience required.
How to Design a Blog Cover Using Canva
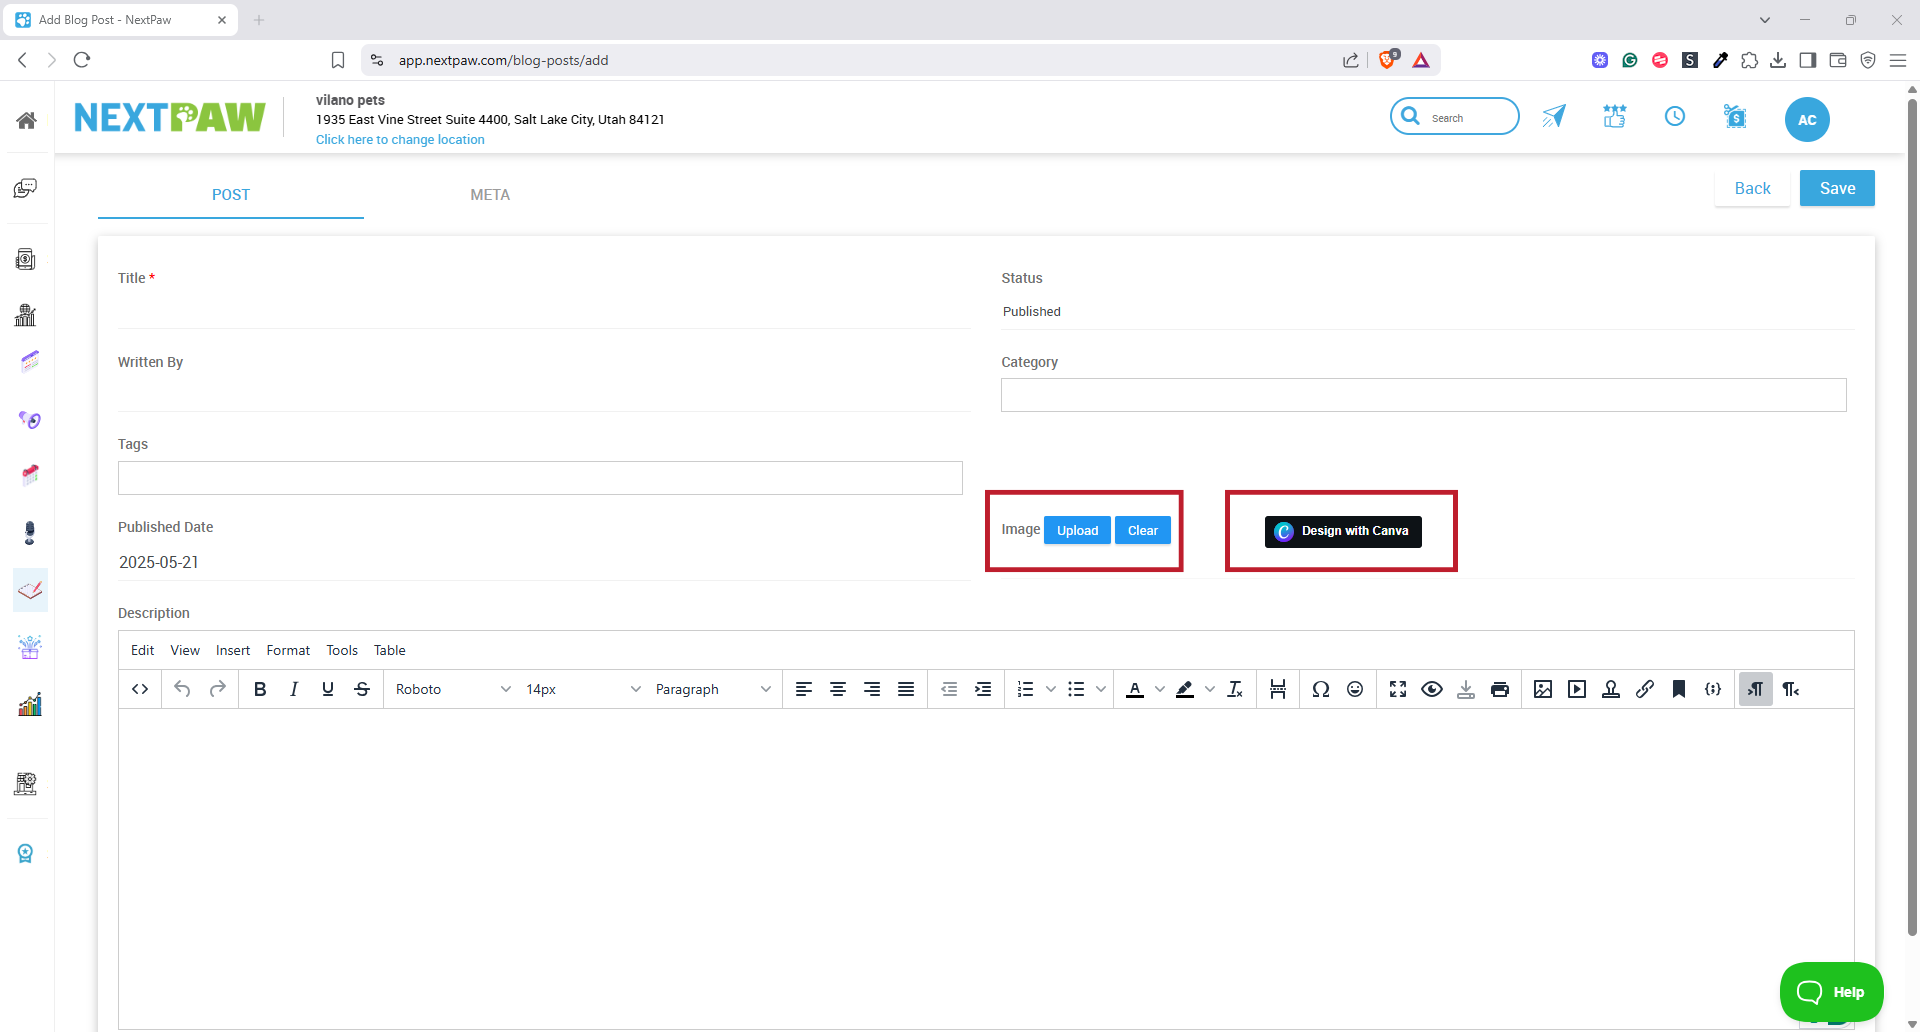
- Click the Canva Button: Inside the blog post editor, click the Canva button next to the image upload option.

- Create Your Design: Use Canva’s drag-and-drop tools to add text, graphics, backgrounds, and colors. Make sure the design reflects the theme of your blog and uses your brand colors when possible.
- Publish the Design: When you’re done, click Publish in Canva. Your image will be automatically added to your blog post as the featured image.
Tips for Strong Blog Cover Design
- Use large, easy-to-read text if including a title or headline.
- Stay consistent with image dimensions to maintain a clean blog layout.
- Include your logo or brand color to reinforce your identity.
- Choose imagery that complements the topic and tone of your post.
💡 SEO Boost
Eye-catching images encourage more clicks and engagement, which helps improve time-on-site and signals value to search engines. Pair your blog image with keyword-rich alt text to support your SEO strategy.
Need More Canva Help?
For additional tips on creating and customizing designs, visit the official Canva Help Center.
Need Help with Your Blog?
If you have questions about using Canva or blog design best practices in NextPaw, reach out to us at Support@NextPaw.com.